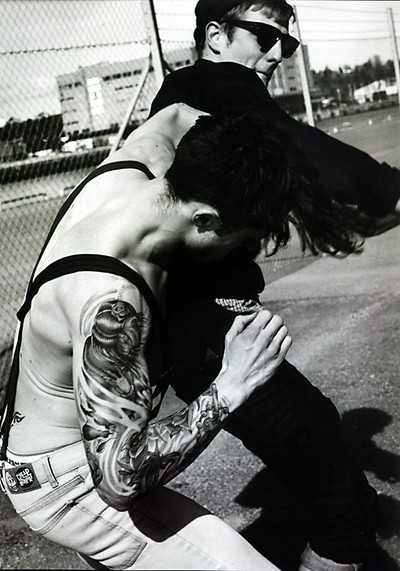
Geek chic är ju alltid ett ganska säkert kort, speciellt för er killar som är lite tatuerade (som jag själv :) ) Jag tycker verkligen om blandningen mellan det "hårda" som kommer från tatueringarna med det "mjuka" från geek-stilen. Är du inte tatuerad så behöver du självklart inte springa ut och gadda dig för att få denna stil att fungera! Men tänk lite på just den blandningen av hård med det "geekiga" så får du till en extra twist som gör stilen lite mer intressant än om den är helt ren. Till exempel är man snaggad kan det bli riktigt snyggt om man "geekar" till sig lite grann.
Lätta knep för att få till geek looken är kortarmade skjortor med en fluga, pikétröjor (buttoned up aaaaaall the way!), väst, dress shorts och så klart glasögon :)
So go to your wardrobe & dig out your inner geek! Vill man ut o handla in nya plagg så skulle jag i första hand rekommendera nåt så enkelt som H&M, där kan man hitta enkla, billiga plagg och börja testa stilen. Annars kan man titta på bra märken som är lätta att anpassa till denna stil som Ben Sherman, Fred Perry, American Apparel & Weekday för att nämna bara några. Vintage är också a good way to go med den här stilen eftersom det finns många basplagg som har inte förändrats så mycket igenom åren, som just Fred Perry pikétröjor, som går att hitta till mycket billigare priser än om man köper nytt.
Seeing as a Bow Tie is a pretty easy way of geeking your chic I thought I'd throw in a little "How-To" guide for those of you that fancy doing it the old fashioned way & tieing your own instead of using velcro or other tricks of the trade :)
I found it infuriating at first but you know what they say: "Practise makes perfect"
Step 1:
Adjust the length of your tie, so it fits your neck.
Detta brukar vara ganska lätt, och där storlekar inte är markerade går det ganska fort att testa sig fram till den rätta längden.
Step 2:
Lift up your collar and put the tie around your neck so the ends hang down at the front. One end should hang 3.5-5cm lower than the other.
Step 3:
Bring the longer end across, behind and over the short end to make a simple knot. Pull snugly around the neck.
Step 4:
Fold the shorter end of the bow-tie at the widest point where the hourglass shape begins to narrow, to form a bow shape. The bow shape should be in front. Hold the bow in a horizontal position at your neck.
Step 5:
Bring the longer end of the bow tie over and in front of the shorter end.
Step 6:
Fold the longer end at the widest point to form a second bow and then bring this bow under the first bow.
Step 7:
There should be a finger-sized hole behind, pull the second bow through this gap.
Step 8:
Adjust and tighten the bow by pulling the opposite ends until happy with the shape. If you're not happy then just start again.
Like I said, this can be infuriating at first but keep at it & have a "quickie" bow tie close at hand if you're in a rush otherwise you may just go mad! :)
If you're more of a visual person or this guide has left you with questions then check out
this easy to follow video where a huge NFL player explains how to do it.
Good luck & let me know how you get on :)




 '
'


